Photo: weheartit.com
Sigh, I have a confession. If you know me, you already know this quirky, inexplicable thing about me because each year, I can’t resist rolling out the tattered, blood-red carpet and welcoming my most creepiest of friends into my haunted home. Yes, I’m absolutely smitten with the spooky, magical world of Halloween and I’m especially crazy about the entire process of creating DIY Halloween invitations. After all, once you’ve committed to the wild idea of transforming your home into a frightening spectacle, your invitations should be worthy of such a highly anticipated evening. Don’t you agree?
Sadly, I haven’t been very good about saving my invites over the years, however, I did find a few to show you. Last year’s was my most labor intensive, but it was absolutely worth it. I had been inspired by the amazing talents of Mrs. Limestone at Brooklyn Limestone, who sent shivers of inspiration throughout the entire bloggersphere when she shared her very original monster slaying kit on her blog. If you’ve never checked out her blog, you should, there’s something for everyone there. But, back to the invitation.
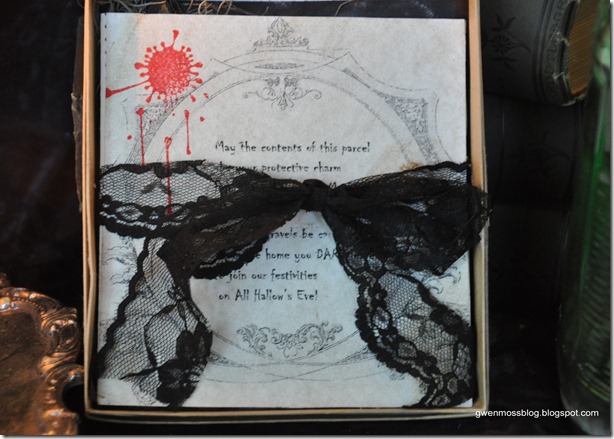
Here was my version:
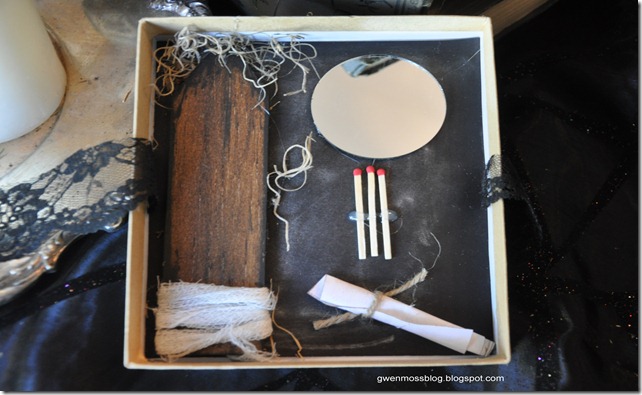
Each invitation came inside a simple brown Kraft box wrapped with a piece of black lace or a red velvet ribbon. When you opened it, this is what you saw. (above)
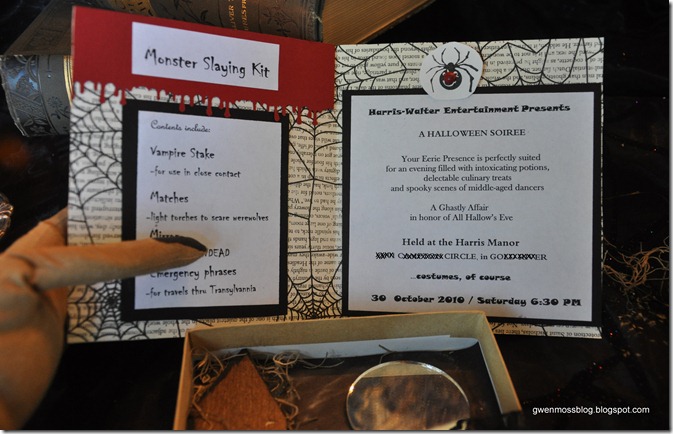
Underneath the Halloween invitation was a “Monster-Slaying Kit.” My version consisted in a wooden stake (for vampire slaying), a small mirror (for seeing the Undead) three matches (for torch lighting), and a list of Hungarian phases (for travels through Transylvania).
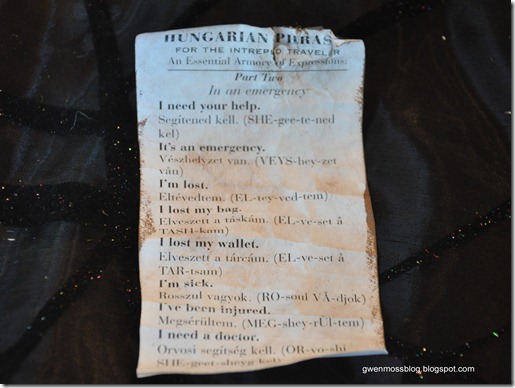
I actually found the original in a children’s picture book about vampires, of all things. It was too perfect. I simply made a copy, crumpled it up, smeared Distressed Ink on it and added it to my Monster-Slaying Kit. The title reads, “Hungarian Phases for the Intrepid Traveler.” I have no idea if these are actual translations. Anybody know Hungarian?
This is what the invitation looked like inside:
The key to doing an invitation like this, is starting early and giving yourself plenty of time. You have to enjoy it, otherwise, what’s the point?
This year I’m really EXCITED about my invites, but I can’t show you quite yet. Only, don’t worry, I’m taking pictures for all of you DIYers!
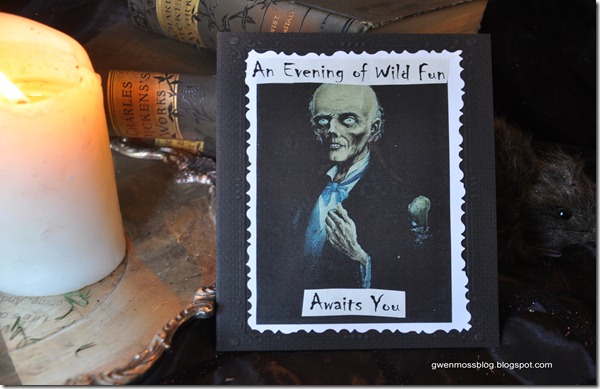
In the meantime, I dug up some quicker invitations that I did some years back. I simply picked images that I liked and put them on black cardstock. I always enjoy coming up with fun text, but I can’t find the final copies of these.
You might add dried, faded rose petals inside, or tie a red velvet ribbon around a card like this.
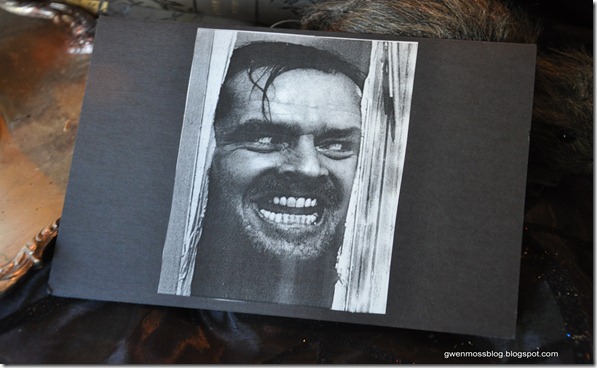
I made this card after taking a year off from having a Halloween party. That was the year we skipped the adult party, and instead, had a big one for the kids. So the words on the front of this card read, “We’re Baaaaack…”
But you could come up with wonderfully creative text for Jack. And you could use this card as inspiration for your party’s theme. How about decorating your party using scenes from the movie, “The Shining?”
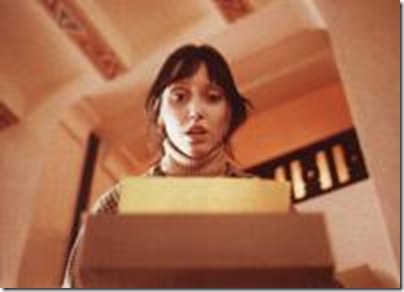 Photo: Google Images; The Shining
I loved that book and to this day, I think the scariest movie scene ever, is the one at the typewriter when Wendy sees the evidence that Jack has indeed, lost his mind…oh, I get chills just thinking about that scene. For this party theme, you’ll have to decorate with a vintage typewriter!
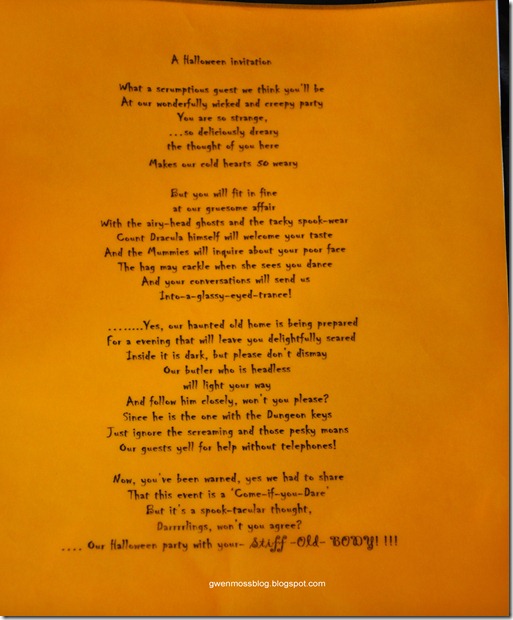
Here’s a Halloween invitation I did with an emphasis on wording. I printed it on clear vellum and put it between two sheets of textured cardstock, added pieces of excelsior grass and tied it with a ribbon. I wanted it to look like a medieval document.
But as you can see, I only have a copy on orange vellum to show you. Can you read the words?
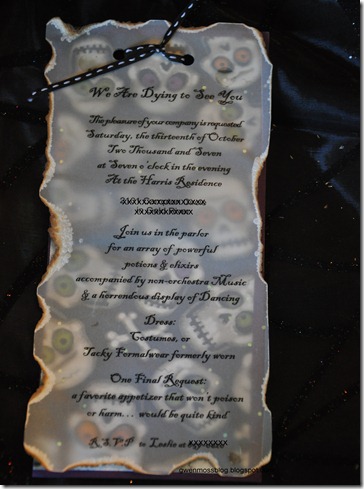
And this is another invitation I printed on vellum…
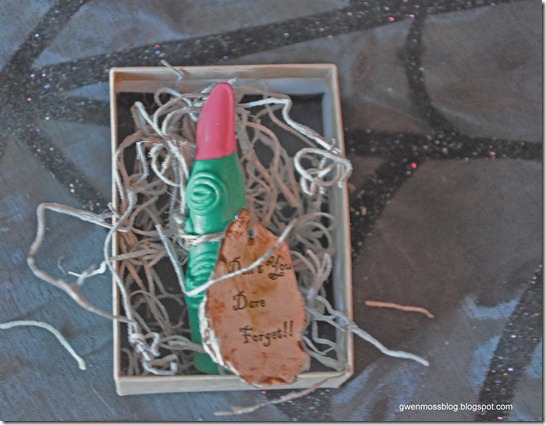
And here’s a cheaper, easier version of Martha Stewart’s wonderful severed finger invitation. Simply use one of those witch’s fingers sold in Halloween stores everywhere, tie some rustic string around it with a warning, “Don’t you DARE forget!” Or, you could write “Hello, my little pretties…”
Hot glue the finger in a small box with dried moss and enclose a rolled-up paper inside with party information on it; distress the paper and burn the edges for an added touch.
Well, what do you think? I hope I inspired you to start working on your own Halloween invites. And stay tuned for more Halloween images and party ideas coming soon….
Thanks for visiting!
2 comments:
Oh I am so excited to see your newest addition to your invitations!
Great post: http://www.partyinvitationwording.org/
Post a Comment