Pages

Monday, April 25, 2016

Master Bedroom Changes-painted furniture and a new headboard


Oh it's sooooo nice to be back!!


Well, it turns out that April has been rather a mischievous technology friend to me and for the last few weeks I've been nursing a computer that completely crashed. Then in addition, a misdiagnosis by the pubescent-looking technology wizard at the local Best Buy 
(Am I the only one who ages 20 years just sitting at the counter of the local Geek Squad?) 
left me without any ability to write or access my photos on either my laptop or desktop 
(big sigh)...
let's just say I've been getting another lesson on "letting go" lately.
The good news is that in the DIY department I've been quite the busy bee.

I've finished painting our bedroom furniture, which includes two bedside tables and our dresser. Since this is a "friendly budget" make-over I'm making do with what I've already got, although I'm not generally a fan of an entire room of painted furniture, it's a vast improvement.
Here's a few photos of some of the progress.
Dark blah looking dresser:


After: New (gray) paint and hardware

And here's a Before photo of our bedside tables.


Nothing wrong with them
other than they needed some sanding and re-staining or a new paint job.

As you can see I decided to lighten the tables to fit my Modern Cottage vibe in here and I went with a two-tone paint finish.

 I also added a sisal rug from my favorite Newport Beach consignment store for some warmth.
 I wasn't sure about replacing these knobs, I thought about crystal ones but once I hung the botanicals over each one I decided to keep the old knobs. I didn't want to get too feminine in here.
This weekend I also finished my new headboard and I love how it turned out, but of course it didn't go as planned.
It's a long story but after leaving a decorater fabric store full of pricy fabrics that I didn't really love--I found a wholesale fabric store with gazillions of bolts to choose from. And such good prices.

I left with these fabrics feeling absolutely giddy that I paid almost the same price for all three-- that I was going to pay for one yard at the expensive place. I wasn't exactly sure what I was going to do with them but I did change my mind on my original plans for my headboard; instead of using a linen type fabric ---I decided to go with this warm, taupe velvety fabric (on the bolt).
In person it's soooo lush and I thought it would be so comfy to sit against when we're reading in bed.
Alright.
 Are you ready to learn from my mistakes?
Whenever you go to a wholesale fabric store and find that 'perfect' remnant that's the last one of its kind, leaning against the wall calling your name.....please have the salesperson unroll it so that you can see if there are any flaws.
Unfortunately--I added another week onto my headboard project after I found a light, sunbleached line going down the middle of this gorgeous fabric.
So what to do?
Well, after revisiting the fabric store and confirming that yes, I got the LAST piece of this fabric I switched plans. Back to the linen look fabric.

But with one change. Ever since the hubby told me he 'hated' the tufted look for our headboard I had decided on a straight, simple one. But I also wanted to add a little pizazz to it too. Especially since I was using such a common fabric.

I wasn't sure what I wanted to do until I was thumbing through a magazine and boom.
That was it. 


So are you ready for a sneak peek?
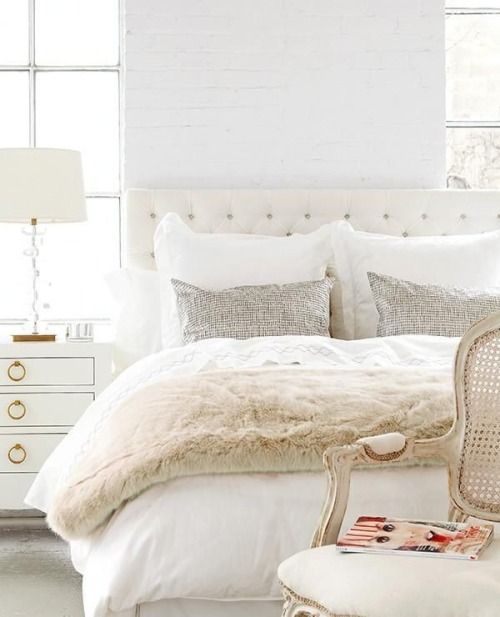
...Here it is.....my Monogrammed Headboard!
I still need to mount it on the legs (which are actually 2x4 pieces cut to size so they attach to our bed).
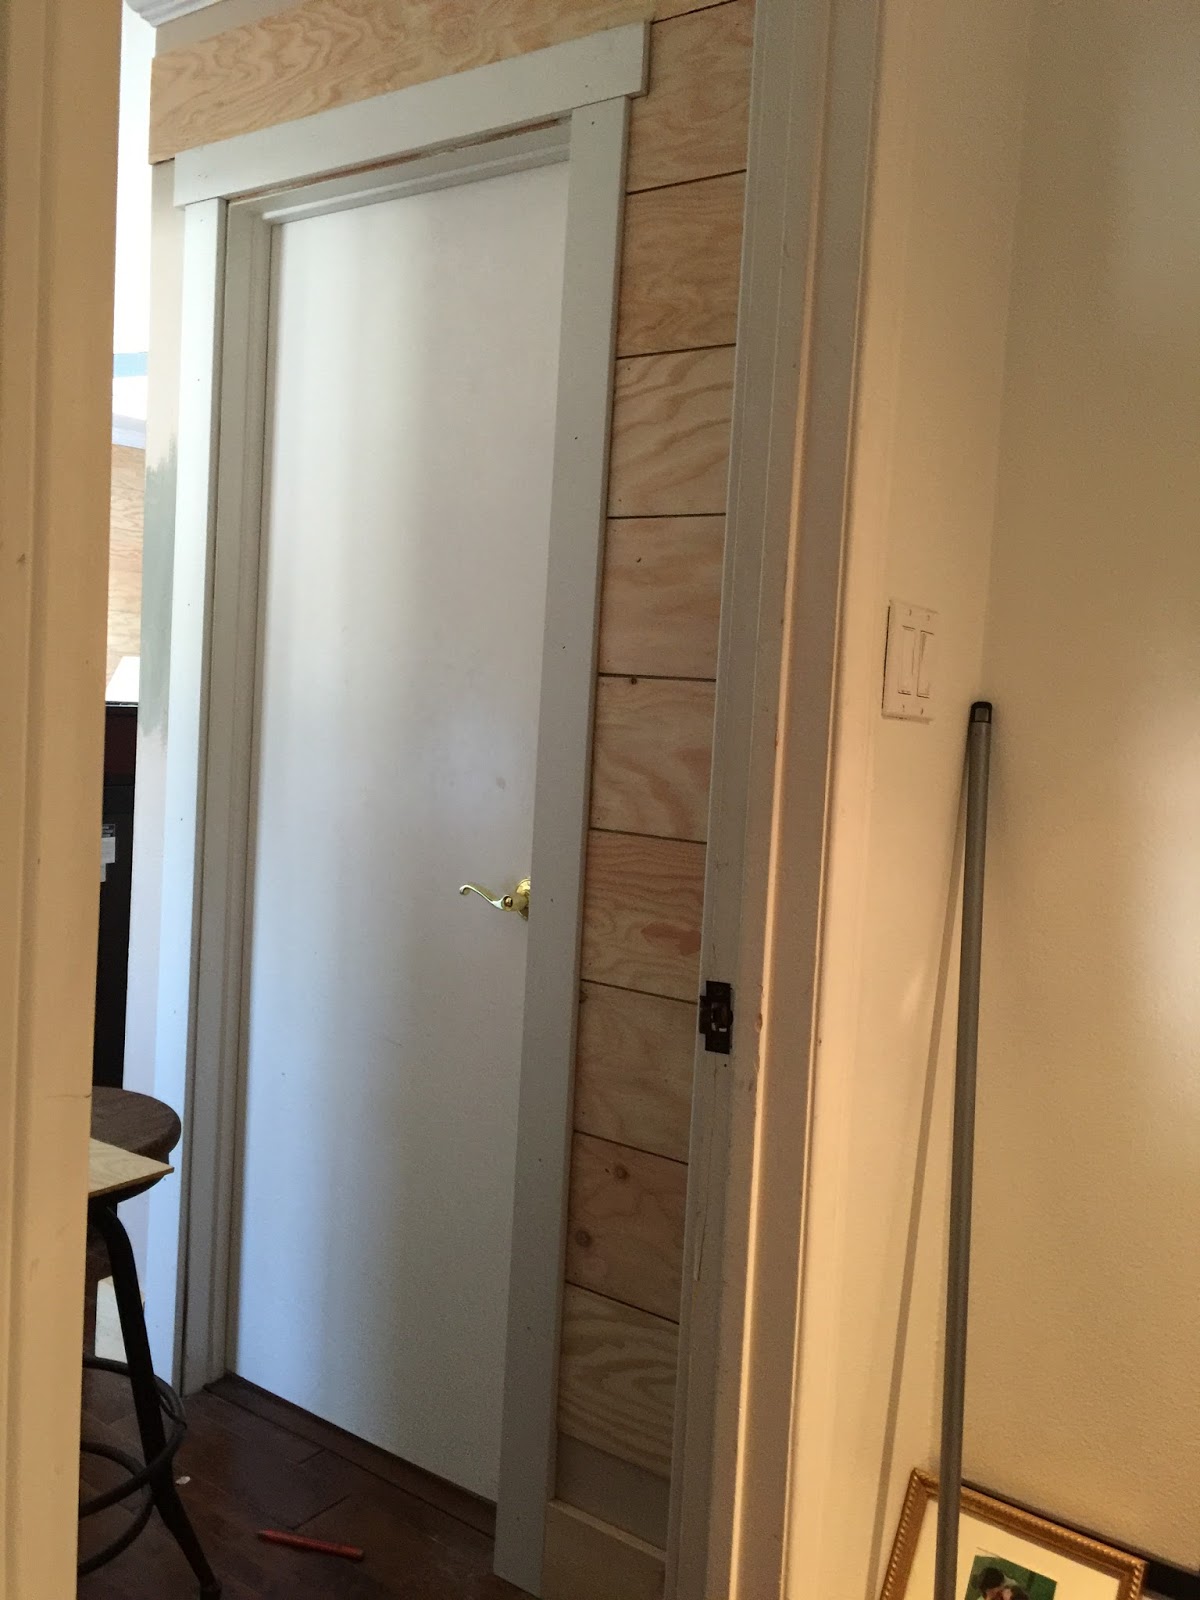
But I'm pretty excited to see how it looks against my plank wall.
I've also been transforming "My Ugly TV Wall."
Remember this?
Here's what it looked like after I painted the walls and added new baseboards.
Still very bland and sad looking...right?


And here's how it looks right now...
 This weeked I finished putting up a shelf over the TV and started adding some accessories. I'll show more next time.


Thank you so much for stopping in, I'm always so happy to hear from you.
Peace and love to you from my sunny window in So Cal.
xo
Leslie


I'm partying with these friends:

Wednesday, April 6, 2016

Plank walls and painting is done--Master bedroom update

Hello friends.
Today I thought I post a few photos of my progress in our Master bedroom.
But first.
Let's revisit this dark and dreary BEFORE photo. Yikes, no Photoshop here that's for sure, you can barely see the text. Remember, this is the room that I happily ignored since we've moved in this house. And yes, those are prints I literally tacked up on the wall. Do you need further proof of how neglected this poor room has been?
Here's another pic sans the tacks
but as you can see... this room is screaming for a make-over.

So the good news is the plank wall is done! Well actually there are two walls with planks
--the biggest wall the bed will go against 
and the short entry wall with the master bathroom door.
Yesterday I finished the last of the painting--the trim and baseboards, and even though it was late in the day I managed to get a few photos for you....

Here's a good shot of the previous paint shade.
This photo also shows the new 4 inch door trim that I'm replacing on all our doors.
When Dad and I were pulling this trim off it literally broke into pieces. I'm seeing first hand that all the wood work in this house was installed on the cheap.
This is the first view you see when  you come into the room
and I like that it's a plank wall you'll see first.


photo after the first coat of paint

So what did I learn from my first DIY plank experience?
Well, for starters I wish I would've watched this video before I began-- it's actually exactly what i did except for one teeny weeny thing.
Unfortunately I didn't paint the edges of my planks prior to installing them on the wall... and right after this first paint coat I realized that my regular roller and brush couldn't penetrate the small cracks.
So what to do?
I guess I could've left it alone but I went to Home Depot and found a special fine bristle brush and yep, it took an extra day but I got on the ladder and basically painted over all the seams and cracks in the planks.
I know. Where was my glass of wine?


It's still not perfect but....hooray for that rustic-imperfect look right?

Here's a picture of one of the large botanicals I'm using in this room.


Paint color:
Farrow and Ball Wimborne White--
a warm, bright white that is perfect for this north facing room!

                    Today I'm picking out the fabric for my headboard and here are some of my choices...


....and here's a shot of the foam and plywood that's currently on top my dining room table. I'm excited to try this project--- I think I have all my supplies and since this is my first upholstery headboard I'll be sure to take pictures and let you know how it goes.

xo
Leslie


Friday, April 1, 2016

Master Bedroom Redo--picking my paint color

Hello friends. Happy April to you!
In my last post I mentioned that I'm finally tackling our Master Bedroom--the one room in the house that is completely untouched since we moved in here. I know. Isn't it odd that the room we spend so much time in, is the very room that gets put on the backburner?
But I finally got motivated when my Dad came in town and taught me how to use my miter saw and since then I've got my creative juices going, trying to finalize my plans for this room.

The first step in my master re-do was to figure out the paint color ---which is really about the ambiance of the entire room. For a long time, this picture has been my inspirational photo for our master bedroom.
Or so I thought.
 If you've been to my Pinterest bedroom board you can see how varied my taste is, but the big question for me when deciding on paint shades is how they make me feel--not how they look on a wall. For instance, I really love the trendy grey paint colors I'm seeing everywhere in blogland. I especially loved this bold, dark shade when I painted my dining room.
(Although it's already been changed)
But here's the problem. Our master bedroom faces north and we only have one window which means there isn't a whole lot of natural light in there.
And even though I love the idea of a grey master bedroom--
in either a deep shade ---

or a soft, warm shade...
when I actually tried some grey colors on our walls and lived with them for a while they felt ...well, sort of cold to me. I even tried Farrell and Ball's Cornforth White which is a subtle---barely there--kinda grey--and without any blue undertones at all and I saw blue.
It's not that I don't like blue-greys, in fact I picked this cool grey for our bathroom remodel here.
I just didn't want it for our light-challenged master.
When selecting paint colors--especially white shades--it's crucial to consider the amount of natural light in your room especially in a north facing view--like ours-- which can even make white paint shades look dull.
If you have a room without a lot of natural light I found THIS post helpful.
And if you're trying to pick a grey paint for a north facing room like mine I found THIS post helpful.

The other point I had to consider was my tendency to keep coming back to creamy white hues when pinning inspiration photos. Like this one featured at Thistlewood Farm.

and I was also drawn to plank walls...

and fabric upholstered headboards.
Yep.
I guess it's time to trade our metal headboard for something more sophisticated and comfy.
I just have to decide if the new headboard I plan on making should be tufted like this one...
or simple, with straight lines like this one.

Next time I'll share photos of my newly painted bedroom in the Farrell and Ball paint shade I chose and tell you about the headboard I decided to make.

Thank you so much for following along on my progress.
I hope you have a great weekend. Right now I'm reading the third book in the Game of Thrones series. My son got me hooked but I haven't watched one show and have no real desire yet. I'm too engrossed in the books....anyone else reading something juicy-good right now?
xo
Leslie
Related Posts Plugin for WordPress, Blogger...